How to initialize a drive
This guide will walk you through how to initialize a drive if it's in the system, but not showing up in the file explorer.
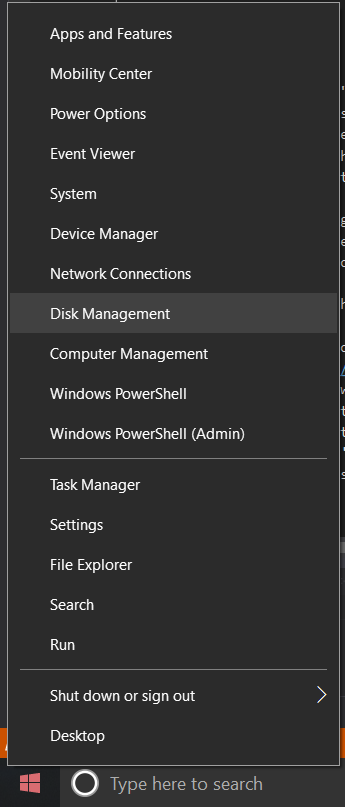
Step 1: Open Disk Management
Right click on the start menu and go to the option labeled "Disk Management". If right clicking does not bring the menu pictured below up, then hold down the Windows key on the keyboard and tap the letter "R" once. In the box that pops up type diskmgmt.msc to get to the same place.
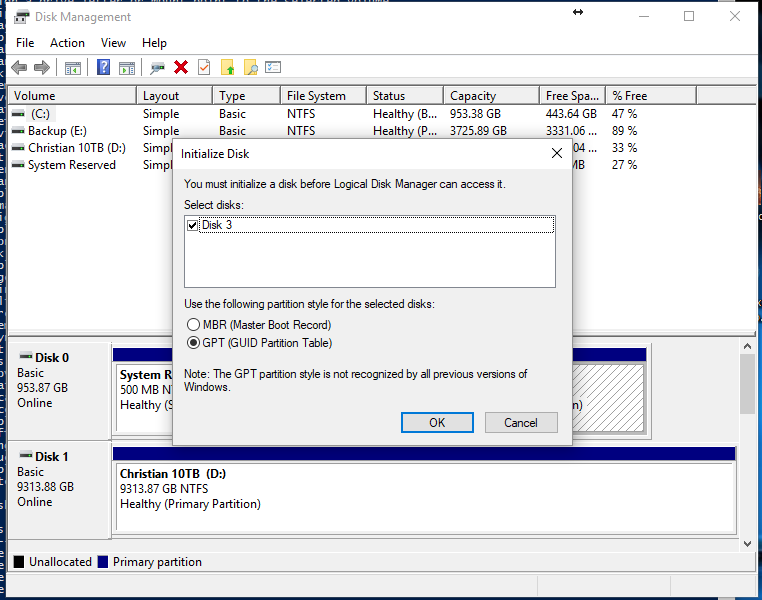
Step 2: Initialize Disk
You'll most likely get a message pop up like the one in the image below asking to initialize a disk. You'll also see an option for GPT or MBR. Unless you have a very specific reason not to, it's almost ALWAYS best to leave it selected to GPT as it's much newer. If you don't get the message shown below, simply move onto the next step.
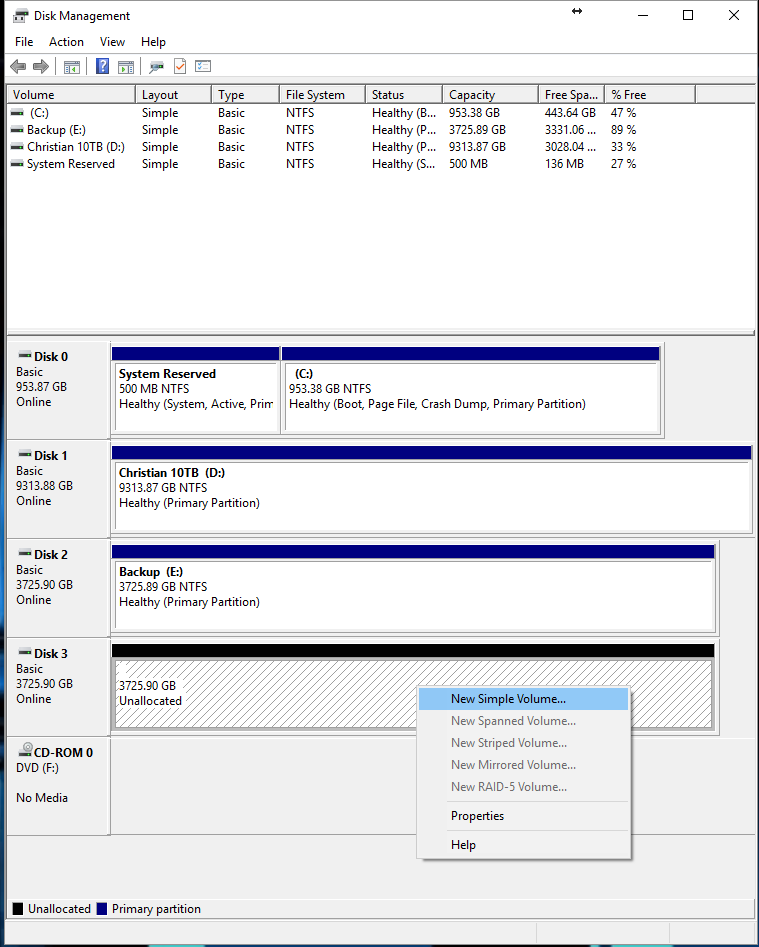
Step 3: Right Click, New Simple Volume
Your drive should show up below as a black bar that reads "Unallocated Space". Right click on that bar, and go to "New Simple Volume".
If none of the drives have a black bar, check to see if your drive shows up as one of the blue bars. If it does show up, right click on the blue bar and select "Change Drive Letter and Paths". If it doesn't have a drive letter select the "Add" button to assign it one. If the drive doesn't show up anywhere, then that means Windows doesn't see it, and most likely either your drive is dead, unplugged, or it has a bad connection somehow.
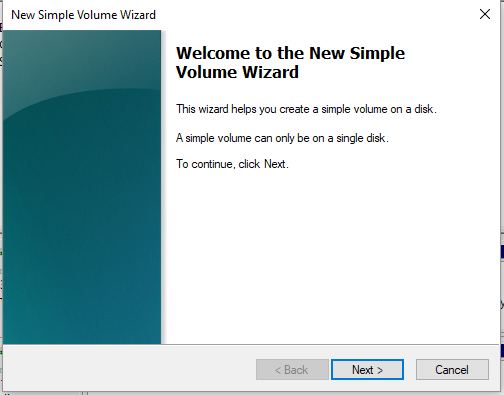
Step 4: New Simple Volume Wizard
It should bring up the wizard below. Hit Next
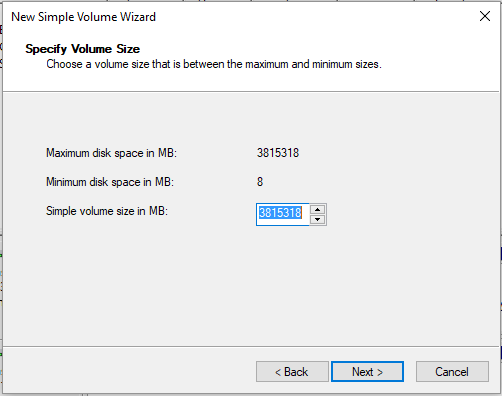
On the next screen you'll see it asking what the volume size should be. Unless you have a very good reason, DON'T change the number in the box. Leave it at whatever the default value is, and hit next.
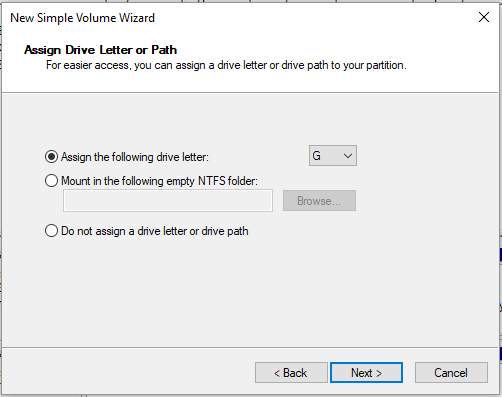
Now you'll need to assign a drive letter. Select whatever letter you'd prefer, and hit next.
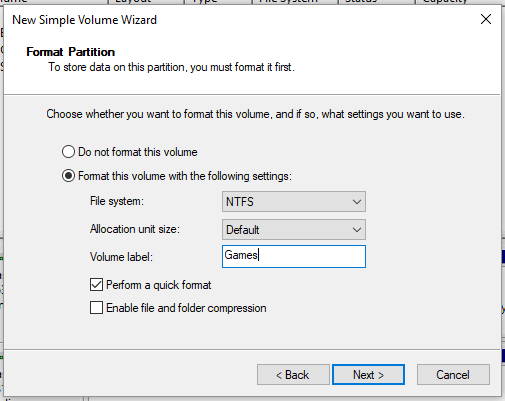
On this next screen, make sure the option to format the drive is checked. You can then give it a volume label to help identify the drive (You can name it whatever you'd like, this label is the name that shows up under "This PC" and it's just for your reference). Hit next.
Step 5: Use drive!
Your drive is now setup and ready to use. Open your file explorer, and go to "This PC" to make sure it's showing up properly.