Data Backup: Creating a bootable Linux flashdrive
This method is great if you really need to browse around for the files you need, or you need to copy over more than just a few files. We'll need a flashdrive that is at least 1.5GB for this method.
Step 1: Download .iso file
We'll be using a lightweight distribution called Lubuntu for our purposes here.
Download the image here.
Once you download it, keep track of it in your downloads folder, we'll need to browse and select it in a moment with the tool below.
Step 2: Download tool
Download This Tool from Pendrivelinux.com. Once it finishes downloading, run it like you would any other program. (Make sure to hit yes to the UAC prompt that pops up to give it permission)
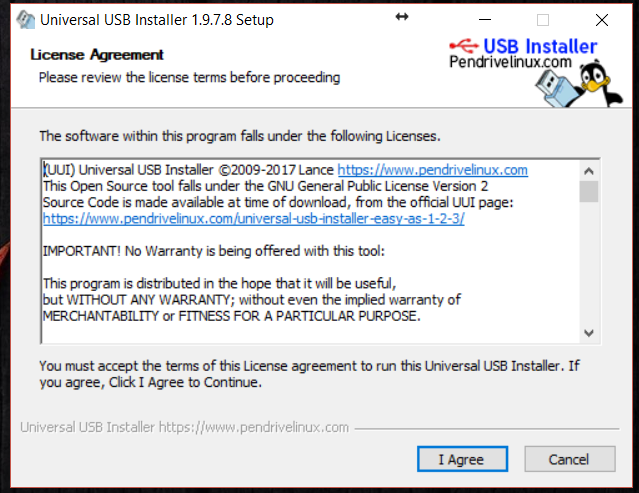
Step 3: Accept terms
Accept the license terms
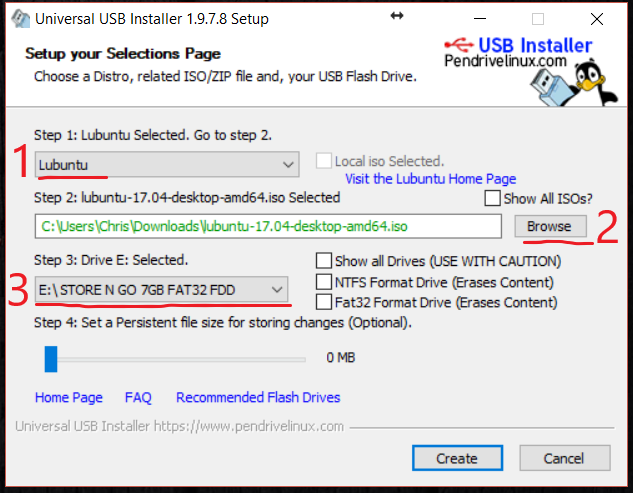
Step 4: Select Dropdown; .iso image; flashdrive
Click the dropdown in step 1 and choose the option for Lubuntu. Then select the "Browse" option, and select the .iso file you downloaded up above. Then select the flashdrive you'd like to use. (If no flashdrive shows up, try a different flashdrive. If it still doesn't work, try restarting the program or try it on a different computer). You can leave all the other settings at default.
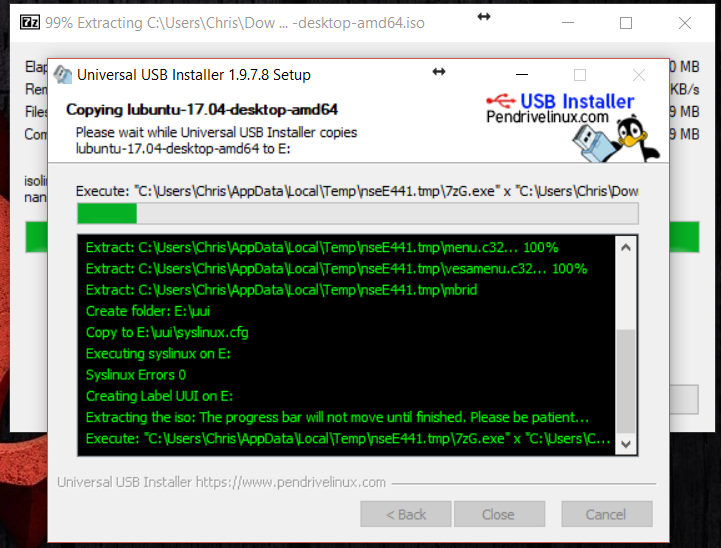
Step 5: Create flashdrive
Select the "Create option at the bottom. It will potentially take a while for it to finish creating the flashdrive, but once it finishes we'll be ready to restart and use it!
Step 6: Insert Bootable Media, and Shut Down The System
Place your DVD in the drive, or plug your bootable USB in. Then shut down the system.
As you turn the system back on, you'll start tapping a key (Below) repeatedly as fast as you can until it brings up a Temporary Boot Menu for your system. You may need to try a few different times if you don't get it the first time; The time period in which it accepts the input is pretty short. The key pressed depends on your specific system. If you know what brand of motherboard you have, it will most likely be the following keys:
- Xidax/Sager Laptop: F7
- MSI Motherboard: F11
- Asrock Motherboard: F11
- Gigabyte Motherboard: F12
- Asus Motherboard Desktop: F8
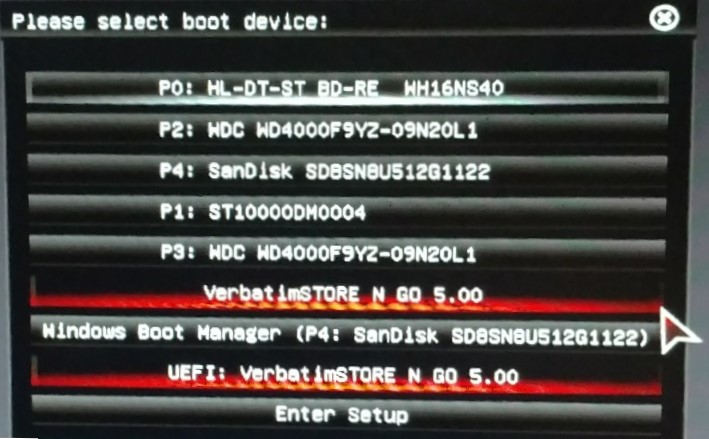
Step 7: Select your Bootable Media
The Temporary Boot Menu will look different depending on what kind of system you have. We are going to want to identify what our bootable looks like in the menu.
DVD: If you are using a DVD, you are going to be looking for the DVD drive. Take a look at each option, and see if anywhere in the option you see anything like "DVD" or "DVDROM".Your DVD drive probably shows up twice, select the option that DOES say "UEFI" in the front of it if possible. The system will then pop up a message saying to press any key to boot from the DVD. Make sure to press a key and it should work.
FLASH DRIVE: If you are using a flashdrive, it will most likely show up as the brand of the flashdrive you are using. Your bootable device will probably show up on the menu twice. One option will say "UEFI" in the front of it, and one will either say "SATA", "P#" or something else in the front of it (It might also say nothing in the front). IF it shows up just once, then select whichever option shows up. If it shows up twice, usually you'll want to hit the option that says "UEFI" at th front of the name. (Ignore other devices that say UEFI at the front of them)
If you don't know which is the correct option come back to this menu and go through the list sequentially until it takes you to the next step. If you have trouble during the reinstall itself for any reason, if your device showed up twice, then come back to this menu and choose whichever option you didn't before. If you can't get your bootable to boot at all, then you'll want to create your bootable again using a DIFFERENT flashdrive and possibly a different computer.
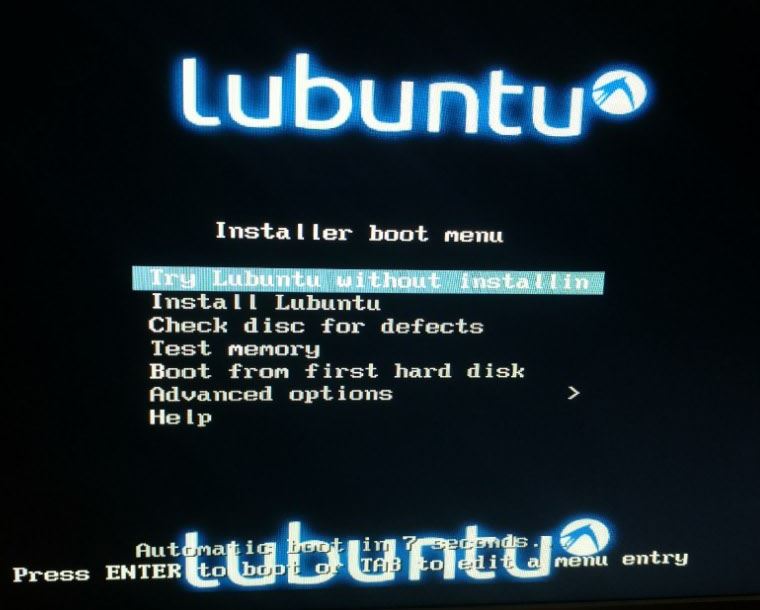
Step 8: Boot Lubuntu
Hit enter to "Try Lubuntu without Installing". It should then boot you to the operating system! (If you press nothing, after thirty seconds it should automatically boot).
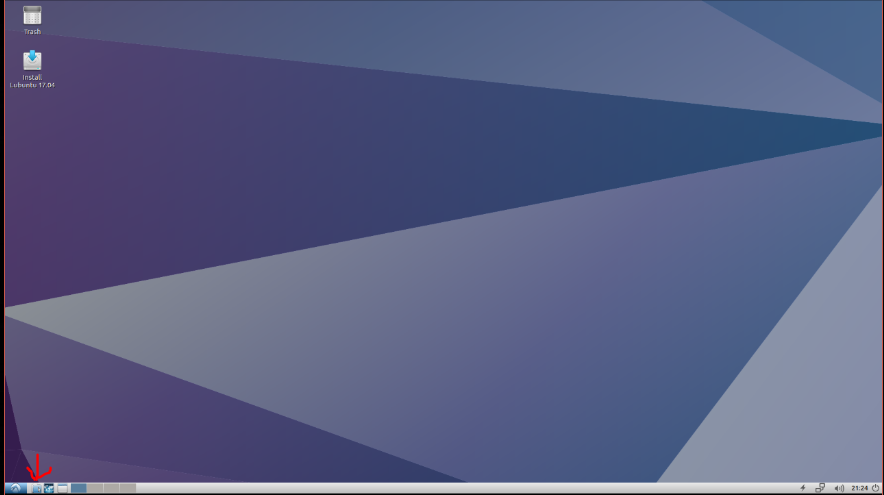
Step 9: Open File Explorer
If you've never used linux before, you may find it's quite similar to the Operating systems that Apple uses in many of their devices. You'll see in the bottom left corner there is an icon for their equivalent of the file explorer. Open that up.
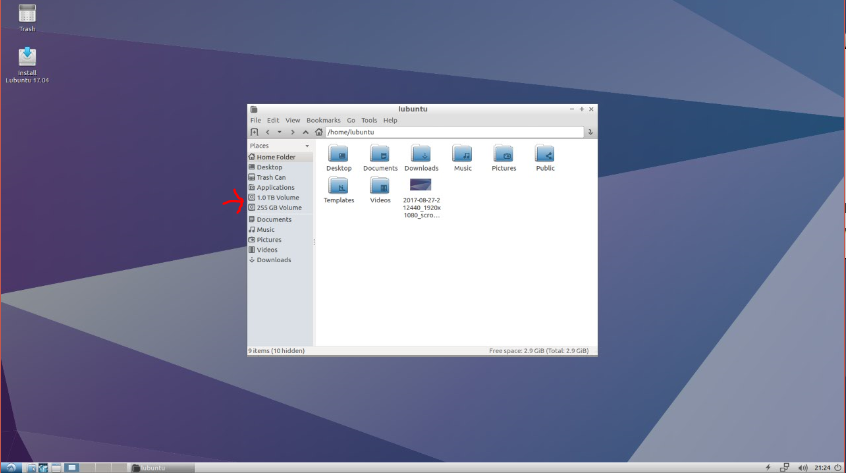
Step 10: Backup Data
The drives in the system should show up on the left hand side. You'll see in this image I have two drives. From here you can navigate through them to pull data off. Don't try backing anything up to the flashdrive with Lubuntu on it as it will erase that data. But otherwise you can do whatever you need to get your data pulled off!
Windows Reinstall
Once you've backed up your data, you'll most likely want to reinstall Windows itself. Click this guide to get started