Windows DISM Troubleshooting Scan!
This section will walk you through the DISM Scan in Windows (Applicable to windows 8, and 10. If you are running Windows 7, scroll to the bottom and move onto the next step)
The scan we will be running is the DISM scan. This scan goes online to Microsoft to match your image of Windows to repair any corruption.
Run the DISM Scan
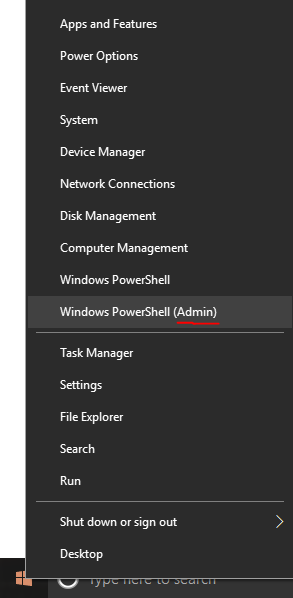
Right Click on the start menu so it brings up the list of options. The one we want is going to say one of two things. It will either say "Command Prompt (Admin)" Or it will say "Windows Powershell (Admin)". Make sure to select the one that says (Admin) regardless of which of the two show up.
Either the Powershell option or the Command prompt option will work.
Copy and paste this command into the box that comes up (You don't need to type anything else or change anything it shows in the box. Just type exactly what's below):
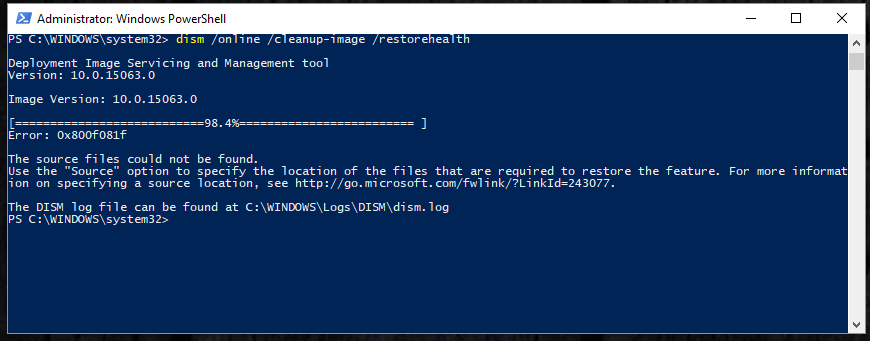
dism /online /cleanup-image /restorehealth
The scan will begin running. This scan should attempt to repair any Windows corruption.
Upon completion you are going to get one of a few responses:
1. It will say the operation completed successfully. If you get this message than your corruption is most likely repaired. Restart and test.
2. It will say it was unable to locate the source files, such as in the image above. This message is very common with the DISM scan. If you aren't on the newest version of Windows, or if there is any kind of interruption between you and Microsoft's servers you will get it. Either try the scan again (The longer you wait between the more likely it will work) or continue onto the next step below.
GetApp
This guide will reinstall a lot of Windows built in apps. If one of those apps is somehow causing your issues, this guide should help you fix it